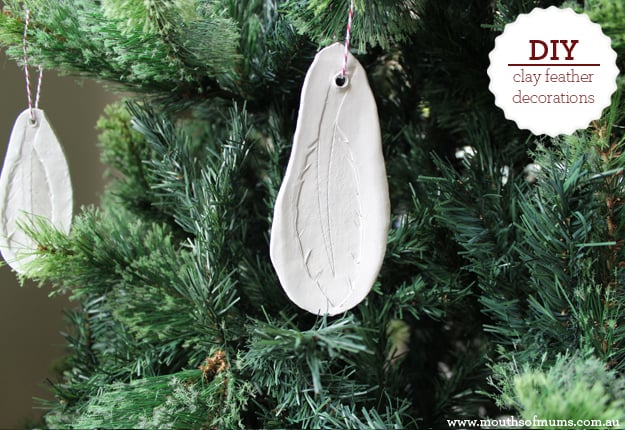
There are many decorations you can buy to adorn your Christmas tree and as the fashions change each year it’s easy to want to buy more each year to keep up to trend. But…have you ever thought about making your own Christmas Tree decorations? You can make them to suit your style and they really don’t have to be expensive. This wonderful tutorial shows you how to make clay feather decorations for your Christmas tree and once you get the idea of how to use clay to decorate your tree you can create your own designs too. They also make fabulous gifts for friends and family, make them a set of six, pop them in a gift box and you’ve created your very own handmade present! They’ll think you’re so clever! You could even get the kids to help with this project.
You’ll need:
- 1 packet air hardening white clay (you can buy this from your local discount store, 1 kg will cost around $12)
- A printout of the feather design
- Plastic takeaway container
- Scissors
- Baking paper
- Rolling pin
- Skewer
- String (Jute, cord, wool, ribbon)
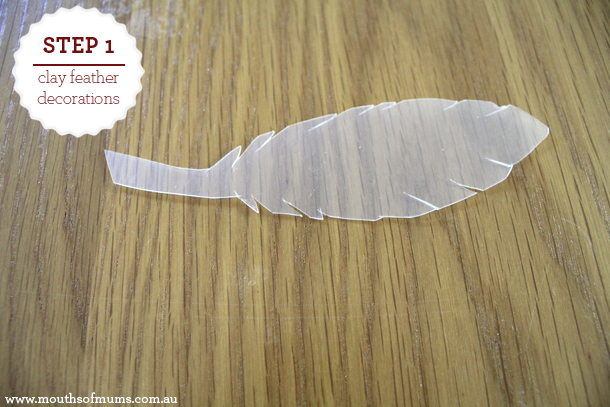
- Print out the feather design, cut it out roughly and tape it to the lid of the takeaway container. Cut around the feather design carefully.
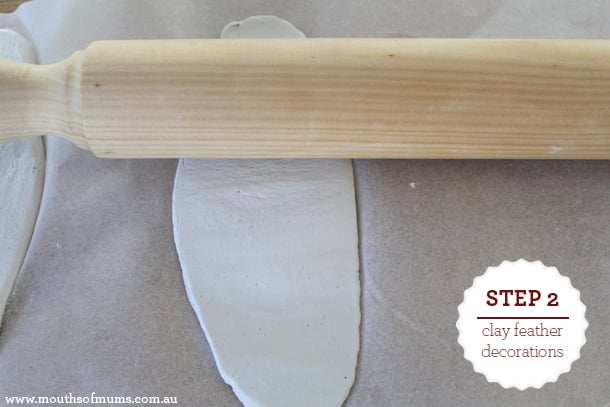
- Take a small piece of your clay (wrap the remaining clay up well to prevent it from hardening), knead it a little to make it pliable. Take a piece of baking paper and place it on a smooth surface, such as a kitchen table or bench. Roll out your clay to a shape that will be large enough to fit the plastic feather template.
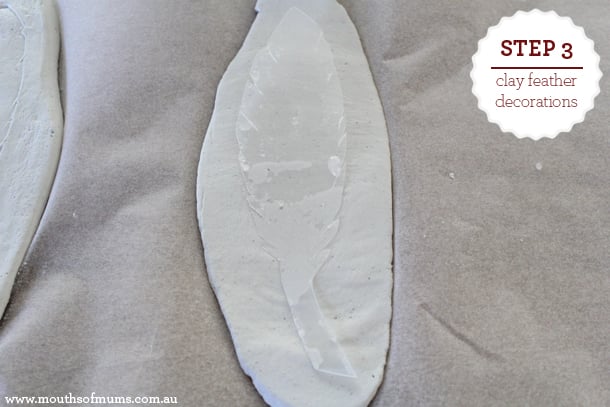
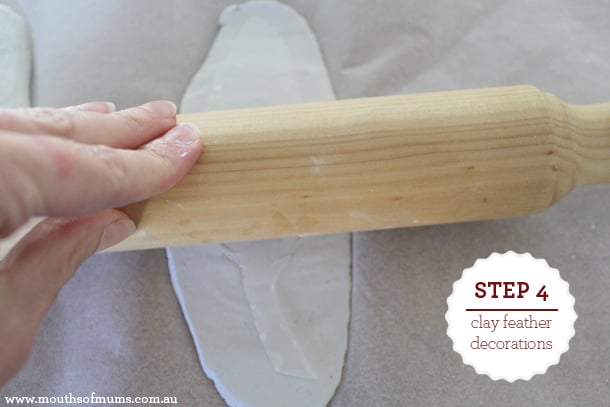
- Place the feather template on the clay and using the rolling pin, gently roll over the plastic feather. Carefully lift the corner of the plastic and check it has pressed in well before removing it.
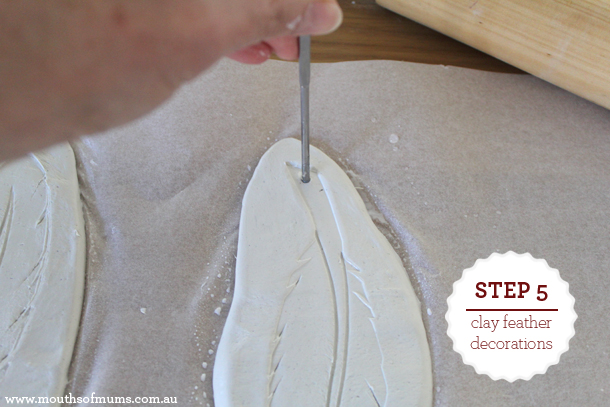
- Using a little water on your fingers, shape the edge of the clay so it is nice and smooth and has a shape you like. Take the skewer and carefully draw the quill onto the clay feather as shown in the image. Now take your skewer and make a hole in the quill of the feather where you can thread the string once it’s dry.
- Make as many clay feathers as you like and allow them to dry for around 2 days. Then add your string and you’re done!


11:08 am
5:15 pm
8:53 am
9:11 pm
3:42 pm
12:33 pm
8:23 pm
12:03 pm
6:19 pm
11:35 am
6:44 am
10:05 pm
4:52 pm
7:21 am
1:50 pm
- 1
- 2
- …
- 13
- »
Post a comment