Hello!

June 30, 2021

50 Comment

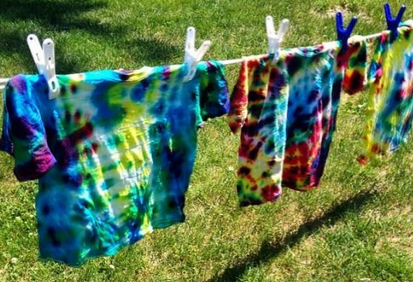
Ever wanted to know how to tie dye? It’s something that the kids would absolutely LOVE and it’s not quite as hard as you would think.
What you’ll need:

  • A white t-shirt; or something you want to dye
  • power fabric dye
  • rubber bands
  • gloves
  • squeeze bottles
  • ziploc bag

Method:

  1. Wash and dry your t-shirt.
  2. Boil some water in a pot.
  3. Add 400 mls of boiling water to some power to make the paint – do this for as many colours as you would like to use. Place dyes into squeeze bottles.
  4. Wet and wring out your shirt.
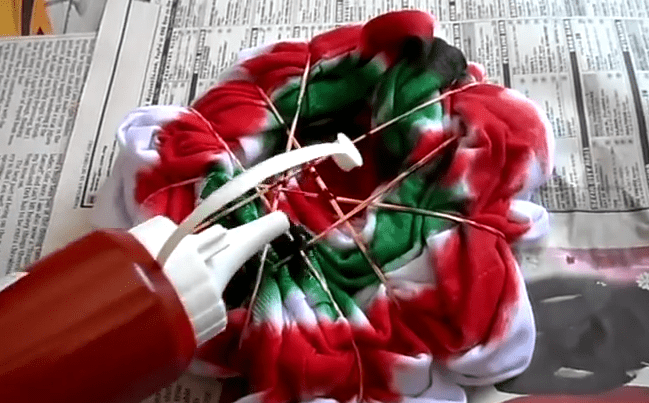
  5. Twist your shirt into desired pattern and hold in place with rubber bands – ideas for designs in video.
  6. Squeeze dye over shirt.
  7. Place shirt in a ziplock bag and place in the sun to dry for a day or two.
  8. Rinse shirt while still tied, only untie once the water runs clear.
  9. Put t-shirt in the washing machine to spin and dry.
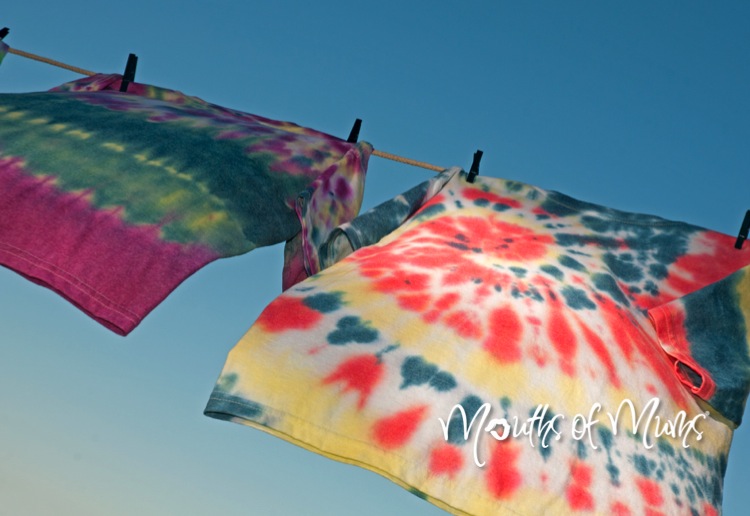
  10. Hang your shirt out to dry and then it’s ready to wear.
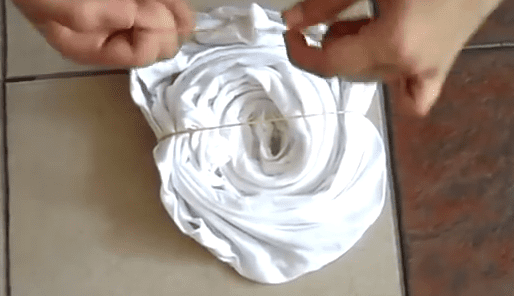
Watch the YouTube video here for full instructions:

Have you ever tie dyed? Try it out and let us know how you go. SHARE your thoughts with us in the comments below!

Main image courtesy of Shutterstock.com
Image source: Pinterest

  • Remember my mum making paintings from tie and dye years ago coming back now this technique

    Reply

  • I remember tie dying in primary school. Our involved buckets of colour though, not bottles. I love the affect

    Reply

  • Very funky and colourful, thank you.

    Reply

  • yes i have tried this a long time again and it seemed like a big deal to get it done but your way is so simple

    Reply

  • Very simple! I have done this before but much messier

    Reply

  • Iwill give this a go today i just hope i do not end up covered in the colours!!!!

    Reply

  • Cool. Thanks for explaining your way of dying them.

    Reply

  • I love tie-dye! Especially on bonds suits for babies…its the cutest. 🙂

    Reply

  • The finished product looks lovely – yet it’s so easy.

    Reply

  • The video makes it nice and clear ! I did it some times when I was younger 🙂

    Reply

  • This was all the rage last year. My hubby and son bought the kit and tried tie dying t-shirts with mixed results.

    Reply

  • They look really beautiful. I did it a couple of times when I was a teenager but I remember it being quite messy!! 🙂

    Reply

  • Lke gt

    Reply

  • We formed a small working bee last year to make costumes for the school musical using techniques like this. The dyes we used did not run after you ironed the finished article and were non-toxic. We also learned a few other techniques like using Epsom Salts to absorb some of the dye for a flecked pattern and tying marbles inside some of the rubber bands to make smaller circles and ‘flowers’. So much fun, and the finished costumes in the tri-coloured finish were fantastic!

    Reply

  • What a great idea. I haven’t don’t this since I was a kid

    Reply

  • I remember doing that at school it was so much fun,I think I will have to do it again.

    Reply

  • we used to do this at school – loved it!

    Reply

  • I seriously have to do this – maybe over Easter.

    Reply

  • I did this at Girls Brigade, but used a very basic method. We used string instead of rubberbands. We used straight pieces of material which we made into cushion covers. Do any of the colours run using this method???

    Reply

  • I remember tie dying in art class at high school. Looks pretty cool.

    Reply

Post a comment

To post a review/comment please join us or login so we can allocate your points.

↥ Back to top

Thanks For Your Star Rating!

Would you like to add a written rating or just a star rating?

Write A Rating Just A Star Rating
Join