Who doesn’t love to sit around an open fire and watch the flickering flames? As the temperature drops, now is the perfect time to get stuck into a DIY project that will allow you to continue to entertain and enjoy your backyard in the winter months!
Fire pits have fast become an Aussie backyard staple but due to the rising popularity, it can be hard to purchase one. Kennards Hire is here to help with some tips for building your own!
Finding the perfect area
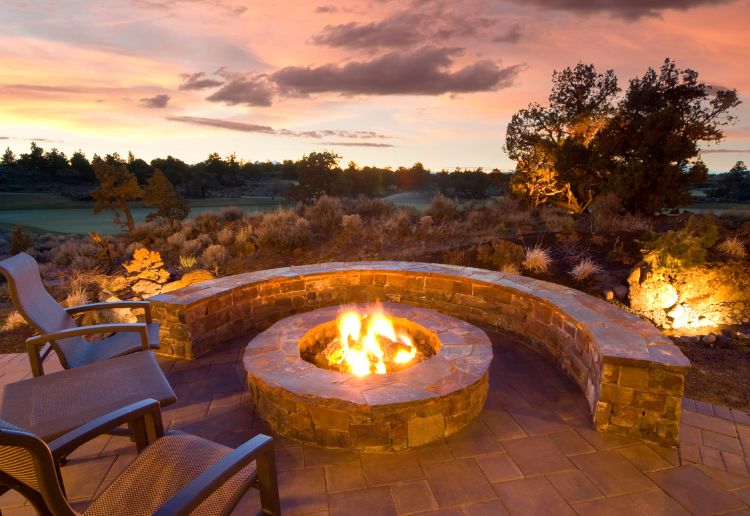
A fire pit will become a central feature of your backyard, so before starting your project, find a spacious, well-ventilated space, clear of any overhanging branches. Checking these must-haves off your list means you’ll avoid potential smoke and fire hazards. If you have the perfect space but it isn’t flat, don’t worry, you can easily hire a digger to remove any excess earth and create a smooth surface.
Build the foundation and framework
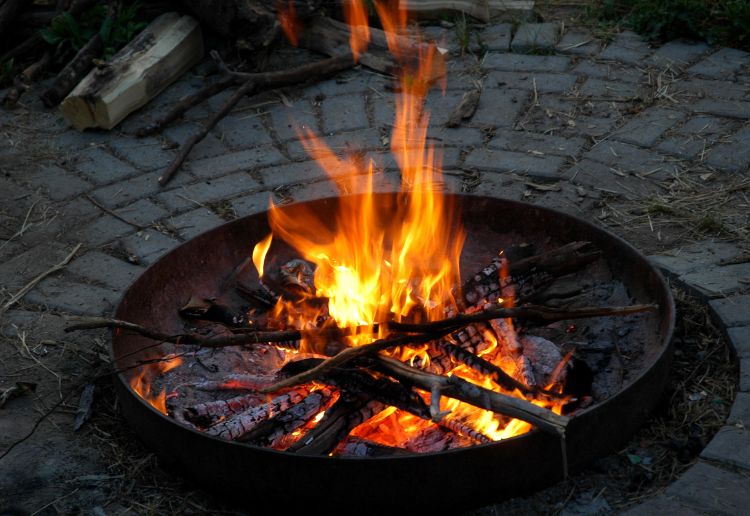
At its simplest, all you need is a level fire-proof surface and an inflammable container for your new fire pit.
For the surface, non-combustible materials such as a stone or concrete foundation are best, as these can prevent flames from spreading. Avoid wooden decks as a base because they can be a fire risk.
You will need a solid shovel and a wheelbarrow to move the soil under your base. Use a peg and cord as a makeshift compass to mark out the area required. Dig out the circle to a depth of about 100mm then fill the hole with compacted builders’ sand to a depth of about 30mm.
Now start laying your pavers or pour your concrete and let it set. Once you have solid foundations for your fire pit, the next step is to make a start on the inflammable container.
The fire pit
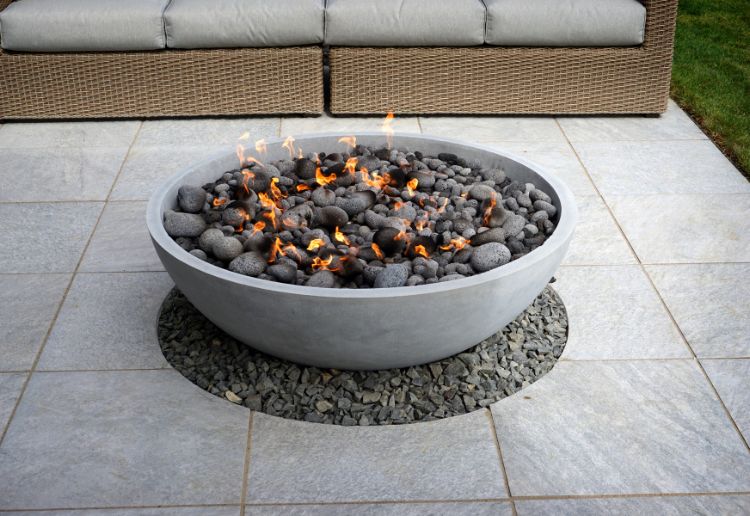
With the base in place, you’re ready for the fire pit container itself, the only limit for this part of the build is using a safe container. Hardware, barbecue and camping stores sell some good-looking and practical fire pits – everything from rusted steel to cast iron and porcelain.
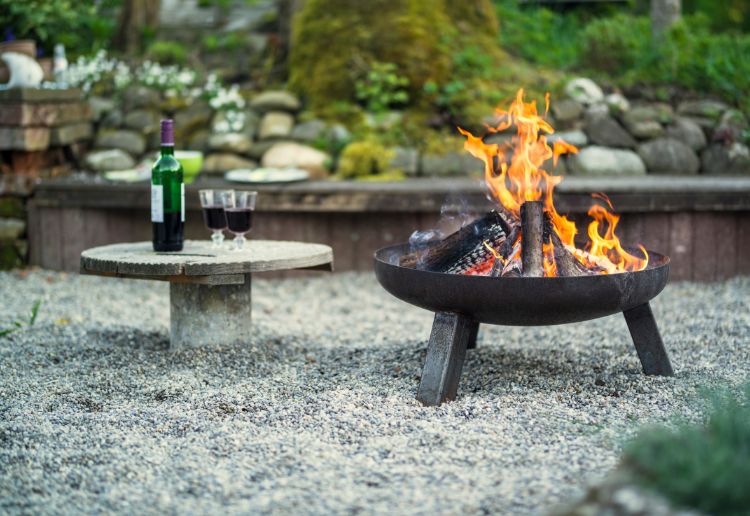
Or use your creativity and create your own with an old washing machine drum or corrugated iron water tank. Don’t worry about the holes – a bit of airflow will improve the fire!
To improve the safety of the structure, you may also want to spread sand around the outside as an extra precaution.
Now, your fire pit is good to go! BYO marshmallows and starry nights for an epic winter evening.
If you have any questions at all on the process of constructing your fire pit, visit your local Kennards Hire branch to speak to one of our friendly building and DIY experts.















9:15 am
10:42 am
7:01 pm
8:58 am
9:38 pm
11:06 am
12:08 pm
1:40 pm
9:53 am
7:16 am
12:36 am
10:20 pm
9:51 pm
8:40 pm
10:35 am
11:01 pm
10:10 pm
8:18 pm
10:38 am
10:27 am
- 1
- 2
- 3
- »
Post a commentTo post a review/comment please join us or login so we can allocate your points.