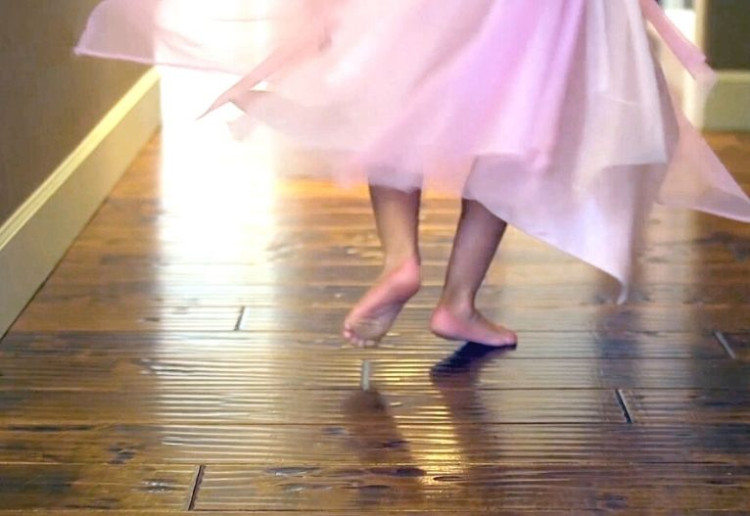
One of the scariest things in my house is watching one of my children drag something heavy across my beautiful floorboards. I mean, sure, there could be scarier things, though when it comes to my floorboards, I am a little pedantic.
It took me a while to get to this point, but now, after some serious research, I know exactly how to fix scratches in wooden floors and furniture and I love it so much, I thought it time I share my expertise with the world.
Here are my findings on how to fix scratches in wooden floors!
Whenever I find a scratch, I’m straight onto sorting it out – doesn’t matter how big or small the scratch is, or if it’s on the floor or on my dining room table, my first point of call is always the kids and it usually starts with me asking…. *a little too loudly* WHY?? (cue the “I was just…” “I didn’t mean to…” “She did it”). After I’ve had my little meltdown, I reassess how I got to this point, shake my head and move onto the fixing part.
My first point of call is to gently clean the area, sweep with a soft broom and go over with a damp mop (highly recommend the Vileda Easy Wring & Clean Turbo Spin Mop that’s being reviewed by our members here) and if that doesn’t get rid of the little scratch, have a little feel of it to determine if it just requires a small amount of varnish applied or it’s time to move onto the next phase – sanding.
If you’ve got lovely hardwood flooring and/or furniture a little scratch can be easily buffed out, though you’ll need to be sure you have the equipment required on hand before you begin this process, you’ll need some sandpaper, a broom and wood stain (in the right colour, patch test this in an inconspicuous area before you apply to an area readily viewed – your local hardware store will have a range of stains available).
4 easy steps to fix scratches in wooden floors and furniture:
- Have your equipment ready – sandpaper, wood stain/varnish / broom
- Start sanding the floor area in the direction of the grain, be careful not to push too hard and only do little bits at a time, you don’t want to sand away too much and try to ensure it is even.
- Clean the area thoroughly with your soft broom
- Apply the varnish / wood stain to the area and allow to dry
There are other methods out there to remove small scratches such as using walnuts (what?!?), olive oil and baking soda (this did not work for me), and wood fillers though the above method has worked for me time and time again – if you have scratches on your wooden floor or on furniture, give this one a go before you try any other expensive products.
If you’ve got more wear and tear than just the odd little scratch it’s usually a full refinish that will be required, in most cases it’s best to trust the experts in these types of situations. Luckily if you get onto little scratches nice and quickly, you may not have to go down the path of refinishing the whole house.
Try out this easy method and let us know your thoughts in the comments below!
We are proud to be working closely with the Vileda team to bring you this article. We love that we feel safe and clean using Vileda products and that we can rely on Vileda products for superior, thorough and effective all-round home hygiene. Vileda – It feels great to feel at home.
*Please note to always check with the manufacturer before commencing any of the above tips and tricks to ensure you are following advice particular to your flooring materials.
Looking for more home-improvement tips? Check out our sister site, Making Home for friendly renovation advice and fab finds for your house.







8:12 pm
11:46 am
2:59 am
9:48 pm
12:54 pm
3:35 pm
4:57 pm
9:21 pm
3:15 pm
11:06 pm
10:59 pm
10:43 am
12:33 pm
3:32 am
10:10 pm
7:50 am
9:07 pm
4:55 pm
1:01 pm
10:08 am
- 1
- 2
- …
- 4
- »
Post a commentTo post a review/comment please join us or login so we can allocate your points.