This has to one of the most adorable DIY Christmas decorations, and all it takes is a trip to Kmart and a bit of time. Hot diggity dog, it’s looking like a Mickey Mouse kinda Christmas.
Mum Missy Schonhagen whipped up this Disney-inspired Christmas wreath for just $35, after seeing similar ones for $100+. A self-confessed Disney tragic, Missy shared the creation on Kmart Home Decor & Hacks Australia, where hundreds of other mums were desperate to know how she made it.
The Mickey Mouse masterpiece includes cuter-than-cute bauble Mickeys and lights. Missy told Mouths of Mums it took her just over two hours to make, and shared everything you’ll need to make your own.
How to make a Mickey Mouse Christmas Wreath
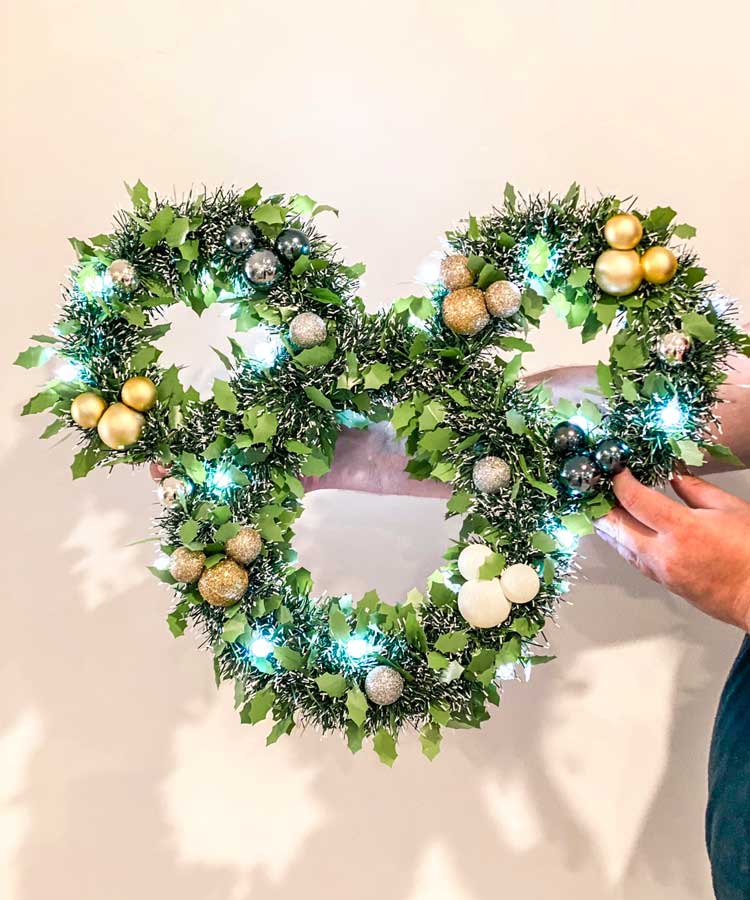
You’ll need:
- Hot glue
- One large wreath
- 2 small wreaths
- Tinsel or Garland to wrap
- Two different sized baubles to make mini Mickeys (amount is by choice)
- Battery operated lights about 1/2m in length, again by choice, I used something minimal, just little ball lights
- Lighter
- Wooden stick (kebab or dowel etc)
How to make the wreath:
- Hot glue the smaller wreaths into position for Mickey’s ears.
- Starting with the bigger wreath glue an end of tinsel and start wrapping closely. It generally falls into place but use your fingers as you go to slide along the wreath to wrap close. Start at the base of one ear, and finish at the base of the other. Then start wrapping both ears same way.
- Wrap the joints making sure to glue tinsel end to wreath and not already wrapped tinsel.
- Once the tinsel is on wrap lights around wreath, starting from the battery pack up behind one of the ears, so you know the battery won’t be seen.
- Next, making your baubles. Line up roughly where you’ll be gluing your ears to the bigger bauble. Using a lighter, (matches are complicated so a lighter is best for this) to gently warm up the area where the ear will sit (one ear at a time) and poke stick to warp the plastic. Stick ear (smaller bauble) on with hot glue. Repeat for however many Mickeys you want displayed on the wreath.
- Lay Mickey baubles on wreath first to see where you’d like them placed etc, and then glue down.
- Add some smaller plain baubles to fill gaps.
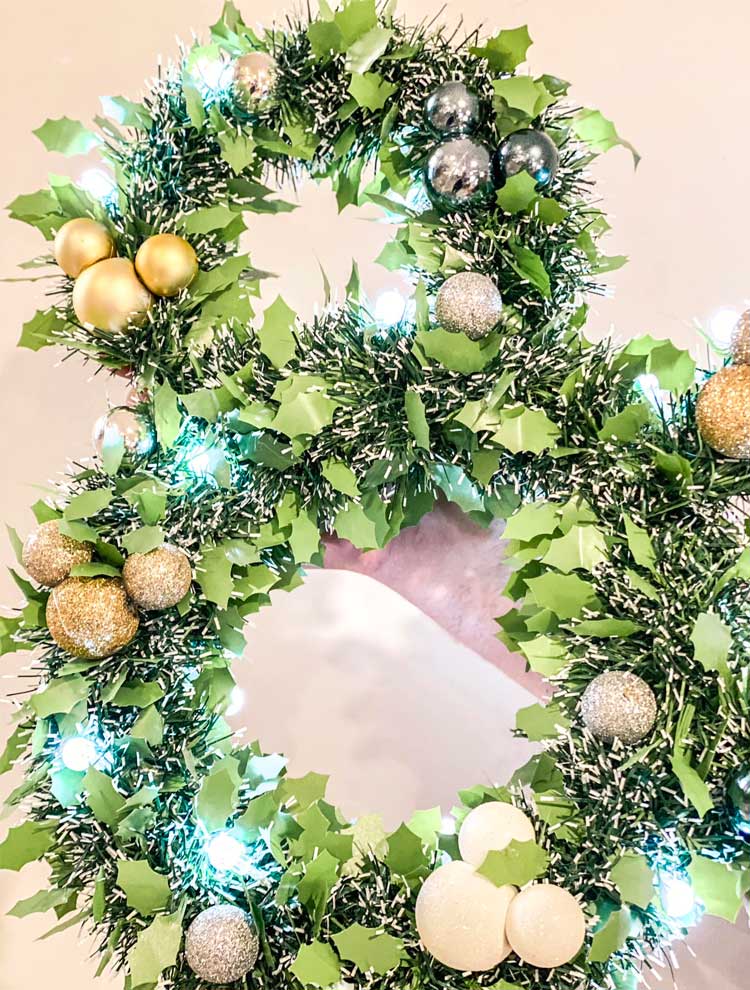
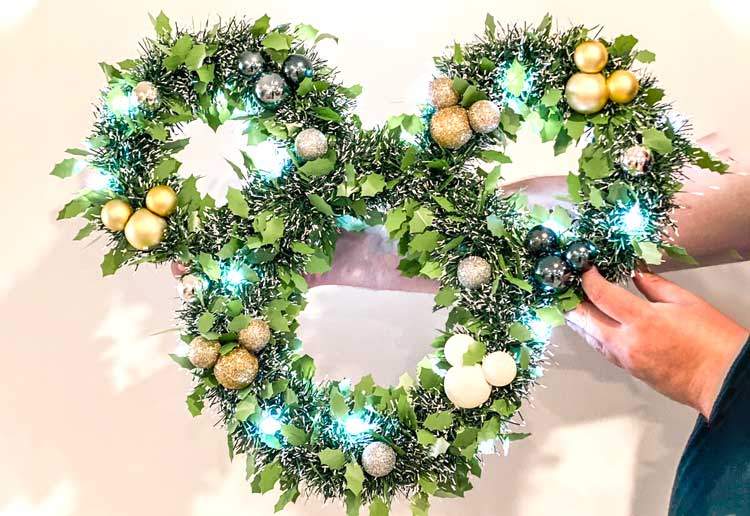
That’s it! Simple and sweet, and as Mickey Mouse would say – that sure is swell!
















11:45 pm
11:02 am
9:02 pm
5:10 pm
11:38 pm
10:13 pm
11:51 am
7:25 pm
11:56 pm
7:20 pm
5:04 pm
1:16 pm
9:20 pm
10:13 pm
12:51 pm
7:36 pm
9:12 am
11:25 pm
11:13 pm
11:13 pm
- 1
- 2
- »
Post a commentTo post a review/comment please join us or login so we can allocate your points.