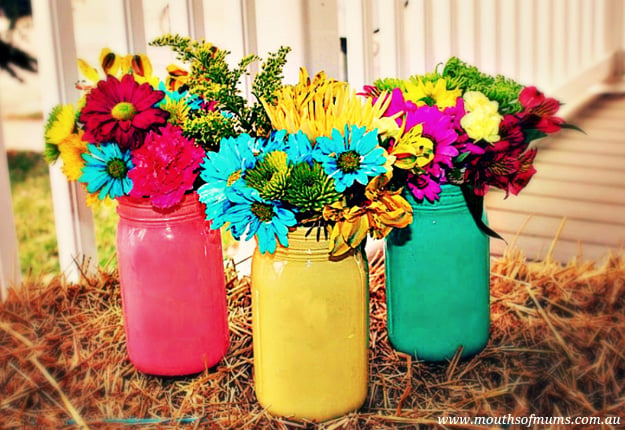
Nothing says spring like a beautiful bouquet in an even more dazzling vase.
With DIY projects officially pronounced as one of the top trends for 2013, it only makes sense we all incorporate it in our home décor. Everyone has old mason jars rolling around in their pantries (or you can get some very cheaply online). The only logical question is what CAN you do with them. Naturally, your imagination is the limit. I have seen thrifty mums make fascinating redneck wine glasses with mason jars and candle holders, fabulous chandeliers and even fancy cocktail glasses.
Let’s begin with something easier, though. For me the best way to master the thrifty mum’s DIY skills is one step at a time. So, I would like to start with the basics: how to paint mason jars. There are two paths you can take:
- Paint the insides of the jars – this will give you a nice glossy finish (just like the one in my pictures);
- Paint the exterior of the jars – this is particularly useful if you want to create shabby chick vases with a little bit worn out look. Just like the ones in Mason Jar Crafts Love.
Items You Will Need to Paint the Mason Jars:
- Mason Jars (as many as you would like to paint);
- Acrylic Paints (your favourite spring colours);
- Brushes or Plastic Spoons;
- Cardboard/ Kitchen Paper/ Old Magazines or Newspapers.
*Note: If you need to mix the paints to get a brighter colour, you should also get disposable containers. For instance, if you prefer baby pink instead of passionate magenta, you can mix red and white.
How to Paint the Mason Jars:
1. Mix the Paint (if necessary).
In case you plan to colorise several jars with the same paint, you can prepare the mixture in a plastic container. However, this step is only necessary if you aren’t happy with the original shades and hues in your acrylic paint set.
2. Squirt Paint into the Jar.
Fill about half an inch from the bottom and close the mason jar with its lid.
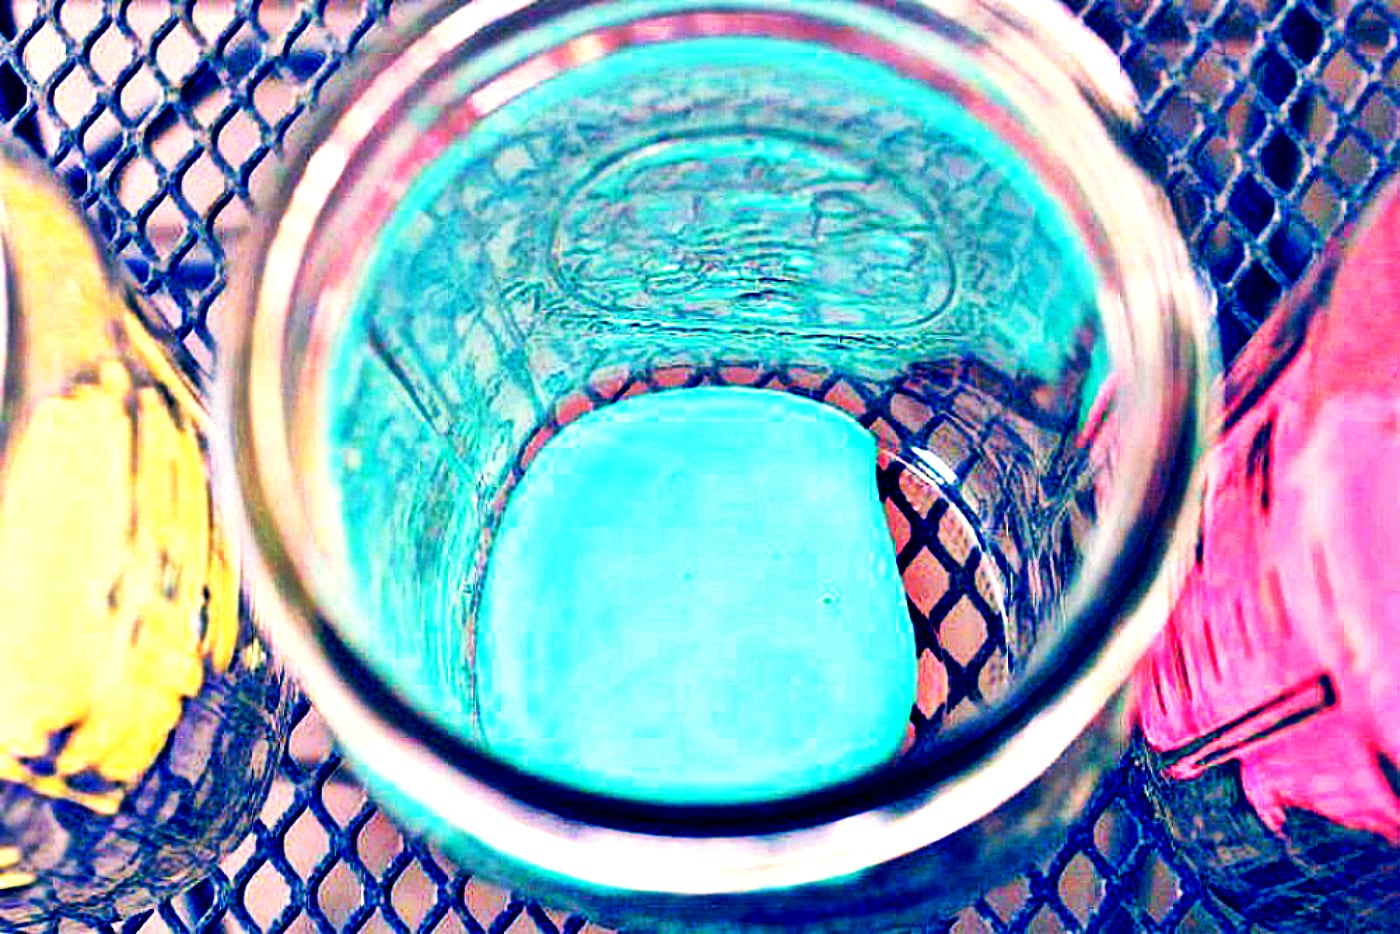
3. Shake the Jar.
This is the most entertaining part of the entire project. Just make sure the paint has covered every inch of the jar before you stop shaking.
You can enlist the help of your little angels. I can guarantee they will have fun assisting mummy. Well, you also risk loosing some of the mason jars in the process but in my opinion it is well worth it.
One simple warning, though, make sure you do this outdoors or in a secure environment as cleaning acrylic paint is not a fun job.
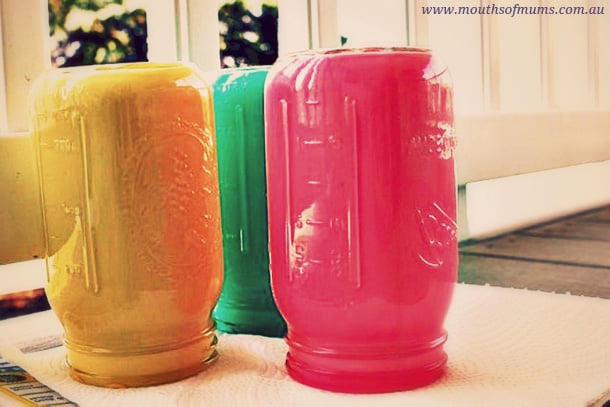
4. Turn the Jars Upside Down.
Once the entire inner surface of the mason jars is covered with acrylic paint, you should open the lid and carefully turn them upside down. Make it on a piece of cardboard, several layers of kitchen paper or on an old magazine. As long as you are certain the paint drips won’t soak in them and get to the surface underneath, you needn’t worry about anything. Leave the jars turned upside down for 24 hours (enough time for the acrylic paint to dry completely).
Have fun decorating your brand new vases!
Don’t forget that these painted mason jars are only suitable for decoration. You shouldn’t use them to serve beverages!


3:06 pm
2:39 pm
11:36 am
7:52 am
10:24 pm
9:23 pm
8:49 pm
8:38 pm
7:42 pm
7:00 pm
-

-
-
-
kjgarner replied
- 09 Nov 2013 , 8:22 pm
Reply4:04 pm
2:35 pm
1:20 am
10:10 pm
9:56 pm
9:19 pm
8:48 pm
8:15 pm
-

-
-
-
margaret_swanton replied
- 09 Nov 2013 , 12:39 am
Reply8:06 pm
6:28 pm
- «
- 1
- …
- 8
- 9
- 10
- 11
- »
Post a commentTo post a review/comment please join us or login so we can allocate your points.