71 Comment
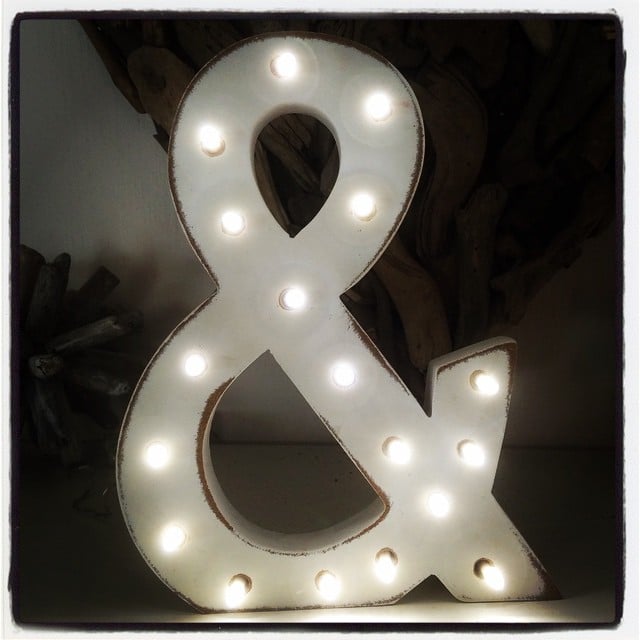
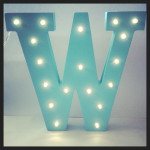
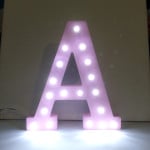
Budget friendly and pretty light letter or symbol light.
Material
- 1 or more Wooden letter - Typo
- 1 set Battery operated lights & batteries - Big W
- 1 Drill and bit (drill bit size depends on light size)
- 1 sheet Sandpaper
- 1 Lead pencil
- 1 Roll of tape
Method
- Count your lights.
Using your pencil mark your light positions with dots. - Once your happy with placement use your drill to drill out the holes. Make sure to test that your lights fit into the holes snuggly.
- You can now use your sandpaper to smooth over the holes. You can also rub over the edges if you want a shabby chic or coastal, aged look.
You can also paint in this step if you would like your letters or symbol to pop! - Pop your lights in their holes.
Using the tape neaten up your wires by gathering them neatly and use small pieces of tape to stick them down to your letter or symbol. - Place your light on a shelf or entry table, wherever you would like to display it. Turn it on and enjoy the ambiance!
Notes
These make excellent and safe night lights for kids!













10:27 am
2:57 pm
1:46 pm
3:14 pm
11:13 am
8:41 am
3:36 pm
9:21 am
11:04 am
-

-
-
kjgarner replied
- 18 Jun 2018 , 10:47 pm
Reply1:28 pm
3:58 pm
9:24 am
5:07 am
12:28 pm
5:31 pm
-

-
-
isabeau replied
- 08 Nov 2015 , 5:41 pm
Reply11:44 am
-

-
-
isabeau replied
- 08 Nov 2015 , 5:42 pm
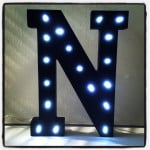
Reply5:20 pm
-

-
-
isabeau replied
- 08 Nov 2015 , 5:44 pm
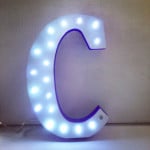
Reply7:37 pm
-

-
-
isabeau replied
- 08 Nov 2015 , 5:43 pm
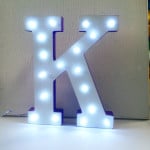
-

-
-
kjgarner replied
- 17 Jun 2018 , 9:48 pm
Reply4:53 pm
-

-
-
isabeau replied
- 08 Nov 2015 , 5:45 pm
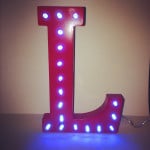
Reply8:31 pm
-

-
-
isabeau replied
- 08 Nov 2015 , 5:46 pm
Reply- 1
- 2
- …
- 4
- »
Post a commentTo post a review/comment please join us or login so we can allocate your points.