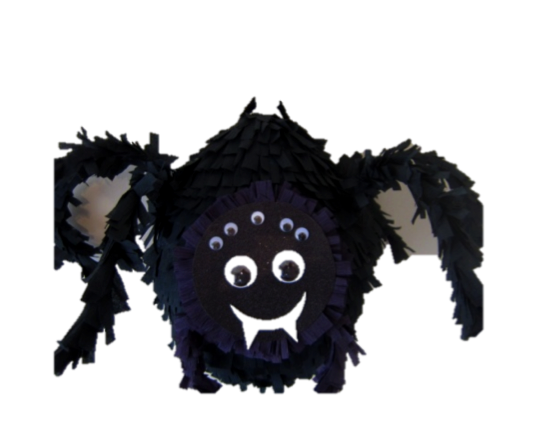
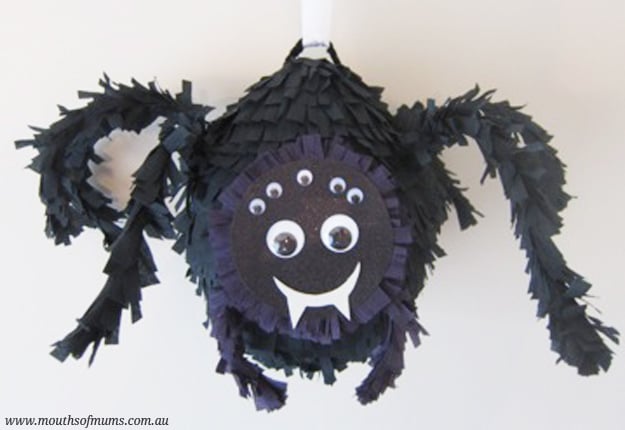
Thanks to Riot Art & Craft we have a fantastic DIY Black spider piñata tutorial you can do with your kids just in time for Halloween!
You will need:
- A Balloon,
- Assorted Halloween lollies & treats,
- Plastic Container.
- Black Crepe Paper
- Black Acrylic Paint
- Black Glitter Scrapbook Paper
- White Glitter Foam Sheet
- 28mm Googly Eyes
- 11mm Googly Eyes
- Black Chenille Stems
- White Satin Ribbon
- Bulky News Print 60gsm
- PVA Glue
- Bristle Brush
- Scissors
- Retractable Craft Knife
- Clear Tape
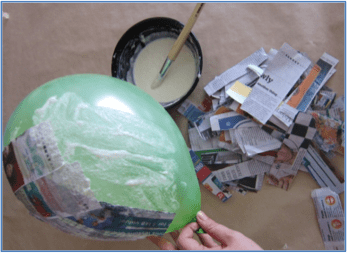 Step 1. Papier Mache
Tear a plentiful supply of bulky news print. Using the paintbrush, coat the balloon with your PVA glue mixture as you go, pasting down the pieces. You should aim for at least 4 layers (and double that if you want an especially hard piñata!)
Leave a hole around the balloon tie, and make sure you leave a big enough hole for your Halloween treats.
Leave it for a day or two to dry. Once dry, pop the balloon through the hole & remove it.
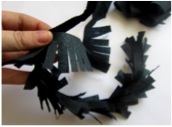 Step 2. Make your Legs
Wind three chenille stems together for each leg.
Cut strips from your crepe paper, around 5cm wide, and fringe the edges.
Wrap your fringe around one end of the leg a few times, sticky tape in place, and then wind the fringing up over the tape and up the leg and fix with more sticky tape. Repeat for all six.
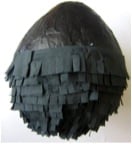 Step 3. Furry Fringe
Once dry undercoat your Piñata using black paint.
Cut more fringed strips from your crepe paper.
Start wrapping the strips around the piñata, start at the bottom and work upwards. Apply a very thin layer of PVA with your paintbrush to stick in place.
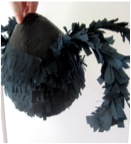
When you get half way up, it’s time to add your legs. Sticky tape these down to the sides, and cover any visible sticky tape with the fringe, fill in any gaps as you work upwards.
Step 4. Fill & Seal
Once you are around 5cm from the hole in the top, add the Halloween Treats.
Push through two slits with the craft knife a couple of centimetres away from the hole on either side.
Thread a chenille stem through these holes, winding the chenille stem wire tightly together. From here you can tie your ribbon to hang the piñata.
Close the hole with sticky tape & extra fringed crepe over the top.
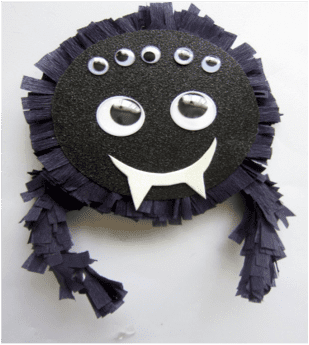 Step 5. Spider Face
Cut a circle from your glitter card. Add your face details; lots of eyes and a mouth cut out of white glitter foam. Add some fringing around the edge of the face.
Next make a U shape out of a chenille stem, and wrap fringing up from each end to meet in the middle. Stick to the back of your spider face, so you get two extra little legs at the front.
Lay your piñata down so that the back is lying flat, and stick your face down with PVA. Make sure you don’t use too much as you don’t want it running on the crepe. Leave to dry, and then it’s read to hang.









9:53 am
11:42 am
12:25 pm
2:43 pm
9:58 am
10:31 pm
8:30 pm
10:53 pm
9:20 am
7:00 am
8:48 pm
5:37 pm
12:00 pm
6:07 pm
2:59 pm
-

-
-
-
mom73211 replied
- 20 Oct 2014 , 3:01 pm
Reply- 1
- 2
- …
- 7
- »
Post a comment