


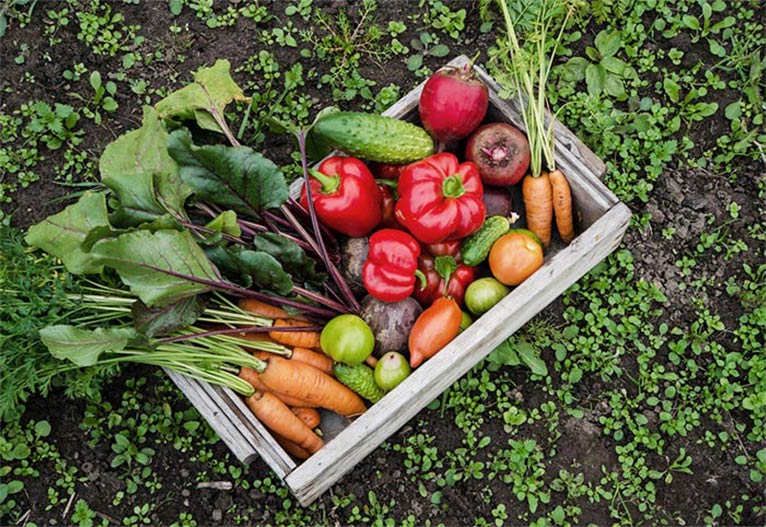
From the vibrance it brings to the backyard to the freshness it brings to cooking, there’s a lot to be said for having a veggie patch in the backyard.
But building a thriving vegetable garden is easier said than done, so we’ve put together some expert tips that show exactly how to build a veggie patch that thrives.
Why build a veggie patch?
The benefits of having your very own veggie patch are endless. In fact, aside from building the patch, planting the produce and caring for it, there aren’t a lot of cons attached to these little plots of goodness.
Here are some of the biggest reasons Australian homeowners love having a backyard veggie garden:
- You’re creating organic, chemical-free food
- It’s a fantastic way to teach kids the value of fresh food and the cycle of growth
- You get to choose what you grow! (More parsley, please!)
- Caring for your veggie patch is great for the body and mind (yes, gardening is a workout!)
- You consume less packaging that comes with supermarket produce
- Saves you money! The more you grow, the less you have to buy
How To Build A Veggie Patch In A Weekend
With the scorching summer sun behind us and cooler days approaching, now is the perfect time to reach for the gardening gloves and start planning your new vegetable garden.
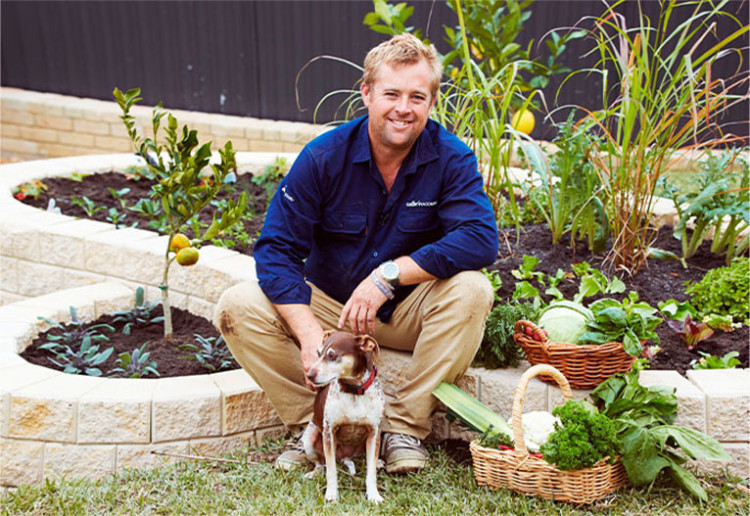
Below, Jason Hodges, expert landscape gardener and Adbri Masonry ambassador explains precisely how to build your veggie patch using Miniwall concrete blocks.
Choosing concrete blocks enables you to be creative, adding dimension and aesthetics to your yard. This is a great weekend project that the entire family can be involved in,” says Jason.
Here are a few extra things Jason advises DIYers to think about before diving into their project:
- Choose your location for the veggie patch and ensure it gets enough sunlight (this has a lot to do with how well things grow)
- The best veggie patches are free draining and use quality soil, which is why they are best when built raised above the ground rather than in-ground
- Do you want different heights in your garden? This creates a fabulous layered effect and allows you to display different veggies, fruit trees and herbs at different heights. Of course, you’ll need enough space to do this.
- Want your garden walls to double as seating? Make sure you plan them to be high enough!

Define the shape of your veggie patch
Taking into account exactly what you want to plant (fruit trees, herbs, root vegetables etc), work out the best size for your new garden and determine whether you want a curved or square shape. Using string, spray paint, rope or even the garden hose, mark out the shape clearly.
Tidy the area and then dig a trench around it
It’s important to get rid of grass and plant debris from the surface of your area to avoid it regrowing and competing with what you plant. Next, dig a trench 200mm deep around the outside of the outlined shape for your footing (or foundation). Tip: save your soil to use later!
Prepare the footing
The walls of the new veggie patch must sit on a footing to be nice and stable. To do this, you’ll need to use a recycled roadbase (which is crushed-up stones, rocks and concrete from roads) and spread it throughout the trench to a depth of around 100mm. Then, use a plate compactor to ensure the roadbase is solid and secure.
Apply sand and cement to the roadbase
Mix up your sand and cement using a ratio of 4:1. Keeping it dry, spread it evenly over the top of the roadbase. Use a trowel to get the surface nice and flat, and use a spirit level to ensure it’s properly flat all the way around. It’s critical that the base is level – otherwise, you’ll wind up with wonky walls!
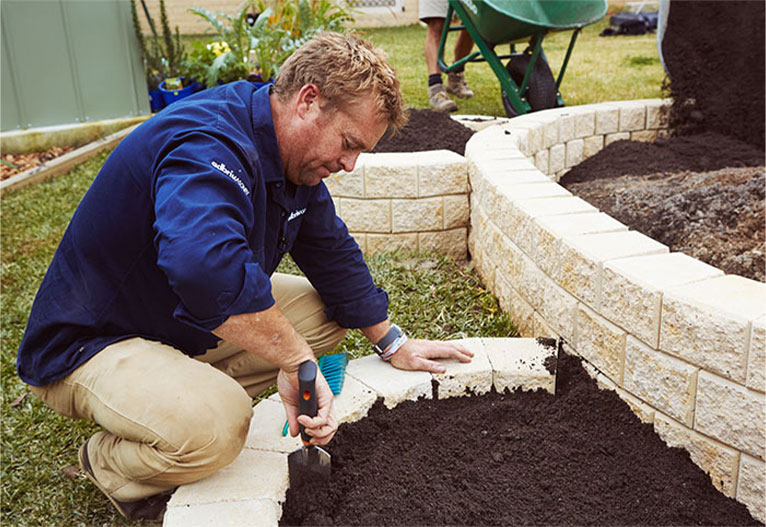
Start layering your blocks
As mentioned above, Jason uses Adbri Masonry’s Miniwall garden blocks, the perfect size and shape for a project like this – and they look fantastic. Starting at one end, start placing the blocks on top of the sand and cement. Use a rubber mallet to gently tap each one down, and then grab your spirit level to ensure each brick is level with its neighbour.
Keep this up, working your way around the footing and making sure each brick is positioned right up against the previous.
Start stacking the blocks
With the first layer down, it’s time to start building upwards. Start laying bricks on top of the first layer, continuing to add layers until you get to your perfect height. (Keep in mind any maximum unreinforced heights if you are going quite tall with your wall.)
Glue down the capping units
At the moment, the blocks are loose, so it’s important to add the capping blocks and secure them down so that they don’t move. Place a small amount of landscape liquid nails on top of each block on the top row. Then, add your capping units so that they’re nice and secure.
Add the soil and mulch
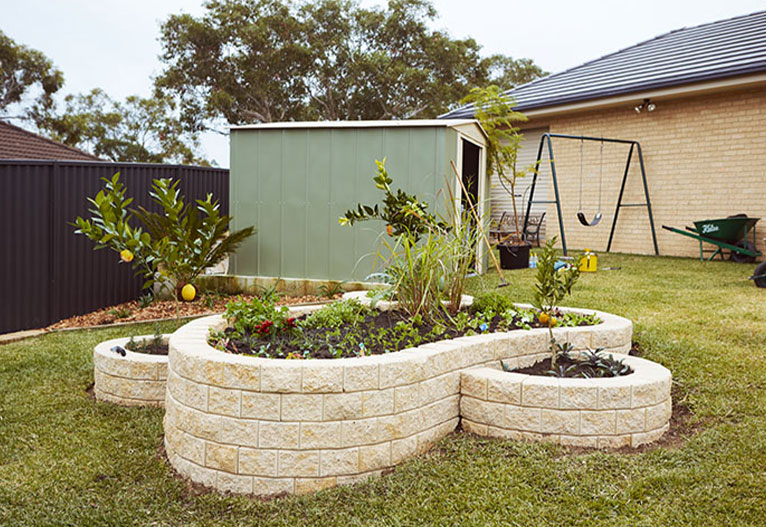
With the walls now complete, it’s time to fill in the garden with premium soil, potting mix and mulch, getting it ready for planting! Spread the soil throughout the patch and fill it to just below the capping block (the very top block).
Finally, start planting!

Now the fun really begins – it’s time to choose your herbs and veggies and get them in that freshly prepared soil. To give your plants the best possible chance, consider the time of year and plant accordingly. Also, ensure they get plenty of water and sun as they take off.
“If you have kids at home get them involved. If the kids are involved in growing the good stuff, they will definitely eat it. It’s also fantastic, uninterrupted family time in the great outdoors with natural light, and no distractions of TV’s, phones and computers. Some of your fondest memories will be made in the new garden, the kids will love it and you will save a few dollars on the grocery bills” says Jason.
Adbri Masonry is a proud partner of the Making HOME renovation series.
This post first appeared on Making HOME.


-

-
-
mom93821, ACT said
- 04 Jun 2023
-

-
-
mom93821, ACT said
- 03 Jun 2023
-

-
-
romvar, NSW said
- 20 Mar 2023
-

-
-
KateW, NSW said
- 18 Mar 2023
-

-
-
mom486197, WA said
- 18 Mar 2023
-

-
-
BellaB, ACT said
- 17 Mar 2023
-

-
-
Scientia, NSW said
- 17 Mar 2023
-

-
-
Danicastefanie, QLD said
- 17 Mar 2023
-

-
-
cassy26, WA said
- 17 Mar 2023
-

-
-
TraceyGail, NSW said
- 17 Mar 2023
-

-
-
Ellen, QLD said
- 17 Mar 2023

-

-
-
Frankiielot, NSW said
- 16 Mar 2023

-

-
-
mom489452, VIC said
- 16 Mar 2023
-

-
-
mom265671, VIC said
- 16 Mar 2023
Post a comment5:02 am
6:03 am
7:23 am
3:34 pm
11:48 am
6:56 pm
5:46 pm
12:40 pm
9:31 am
5:42 am
5:24 am
9:47 pm
-

-
-
Ellen replied
- 17 Mar 2023 , 5:22 am

Reply9:11 pm
7:45 pm
To post a review/comment please join us or login so we can allocate your points.