62 Comment
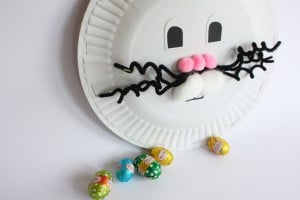
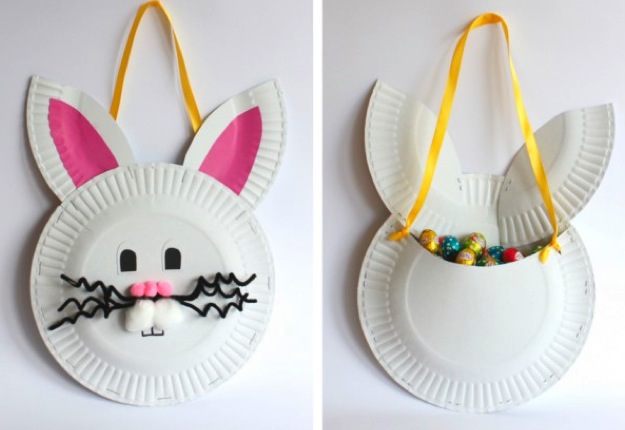
There’s no shortage of Easter decorations in the shops at the moment, but it’s always nice to add some homemade pieces to the mix! We loved this Easter Bunny Bag that’s really simple to put together and it holds quite a few chocolate eggs too!
Materials:
- 3 x paper plates
- 3 x pipe cleaners
- 3 x pink pom poms
- 2 x cotton balls
- Pink & Black paper
- Scissors
- Glue
- Ribbon
- Stapler
- Black marker
Method:
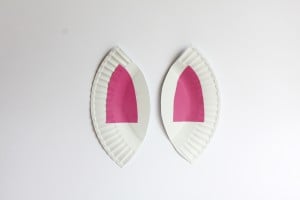
Step 1: Cut out 2 bunny ears using one of the paper plates.
Step 2: Cut out a semi circle at the top of the second paper plate (this will form the back of your bag).
Step 3: Cut out 2 ears (just a bit smaller than the paper plate ones) using the pink paper and glue them to the paper plate ears.
Step 4: We attached the whiskers by punching 2 holes in the third plate and feeding a small pipe cleaner over the whiskers, through the holes and fastening at the back. Curl the whiskers by twisting the pipe cleaner around a pencil.
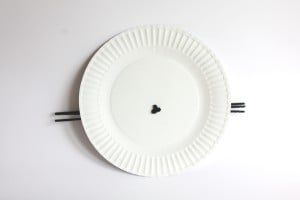
Step 5: Just above the whiskers place some glue and attach the pink pom poms. Add glue beneath the whiskers and add the 2 cotton balls.
Step 6: Cut out a set of eyes using white and black paper and glue them onto the plate.
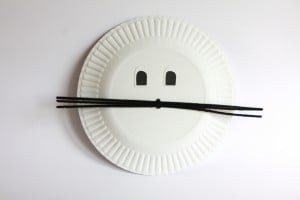
Step 7: Use a marker to draw the bunny’s teeth.
Step 8: Ask an adult to staple the ears to the top of the plate and then staple around the 2 plates to join them together.
Step 9: Pierce 2 small holes at the back of the plate and thread the ribbon through before tying a knot to secure.
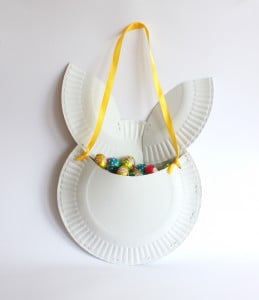
Step 10: Now your Bunny Bag is ready to collect lots of easter eggs on your hunt!



















2:24 pm
9:23 pm
5:32 pm
7:47 pm
9:27 pm
3:15 pm
6:37 am
10:11 pm
-

-
-
kjgarner replied
- 30 Jun 2018 , 10:40 pm
Reply6:56 pm
4:29 pm
1:30 pm
7:37 pm
3:48 pm
6:26 am
12:42 pm
8:40 pm
9:03 am
9:50 pm
5:52 pm
11:49 pm
- 1
- 2
- …
- 4
- »
Post a commentTo post a review/comment please join us or login so we can allocate your points.